Migrate OS from other cloud or On premises / Physical computer to AWS.
Introduction -
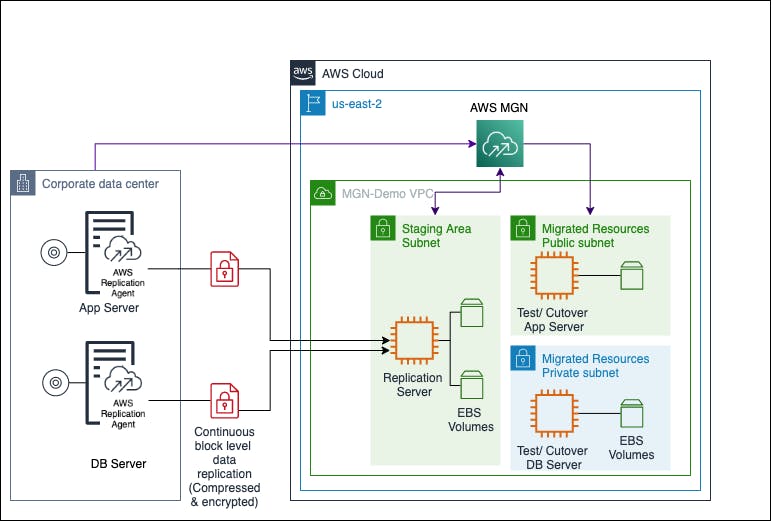
In this Documentation you will see how to use AWS Application Migration Service for migration of one server to AWS EC2. This can be also applicable for on premises physical server make sure you have high speed internet connection.
HLD
Prerequisites
Components included
Cloud Infrastructure
Source server – physical/On-prem Machine
Destination Server – Ec2 Instance
Migration server ec2 instance – t2 medium or your choice
Replication server ec2 instance – c5.large or your choice
Application Software used
- AzureMigrationserviceTool
Steps Involved:
For example, I was taking another cloud provider resource I am using here Azure VM windows
Step1: Create Windows VM
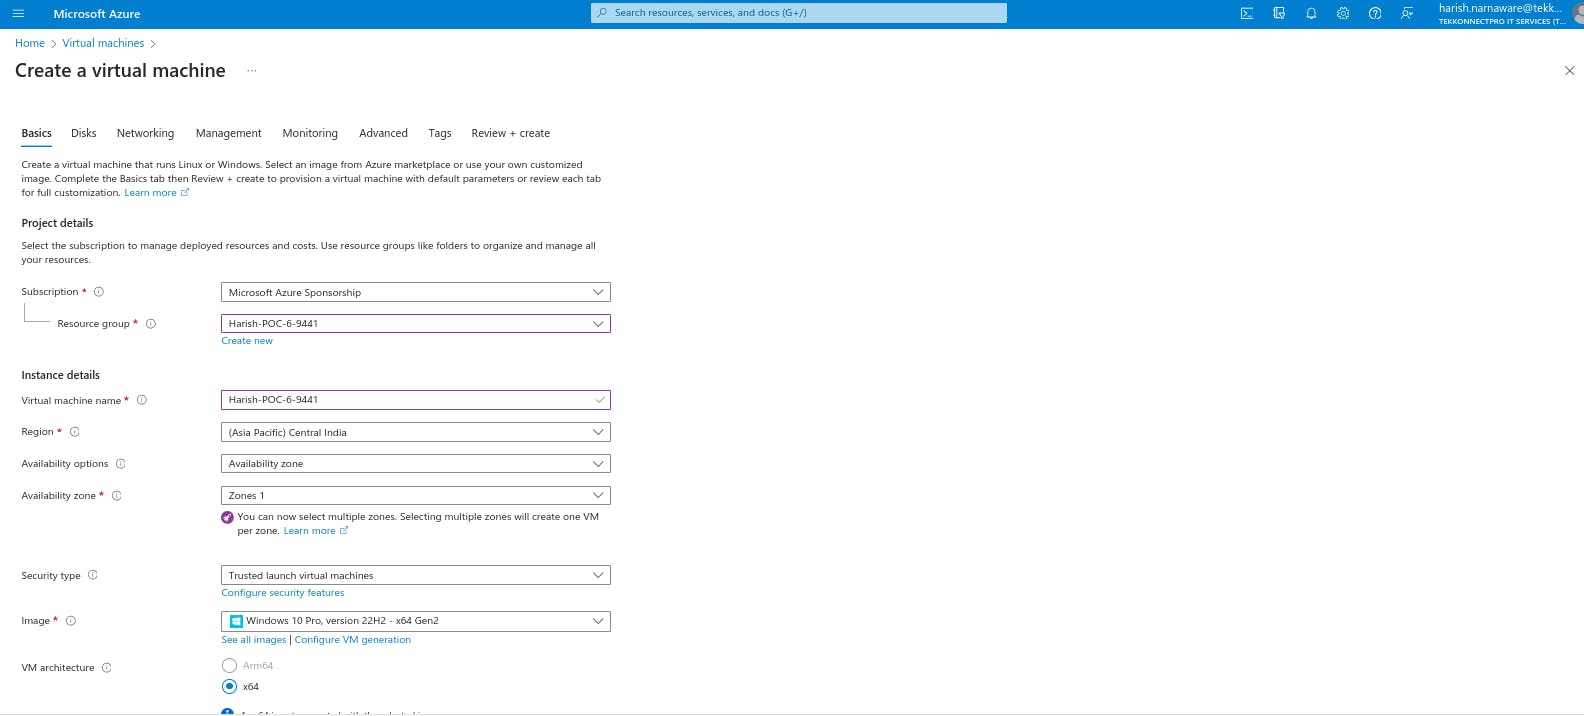
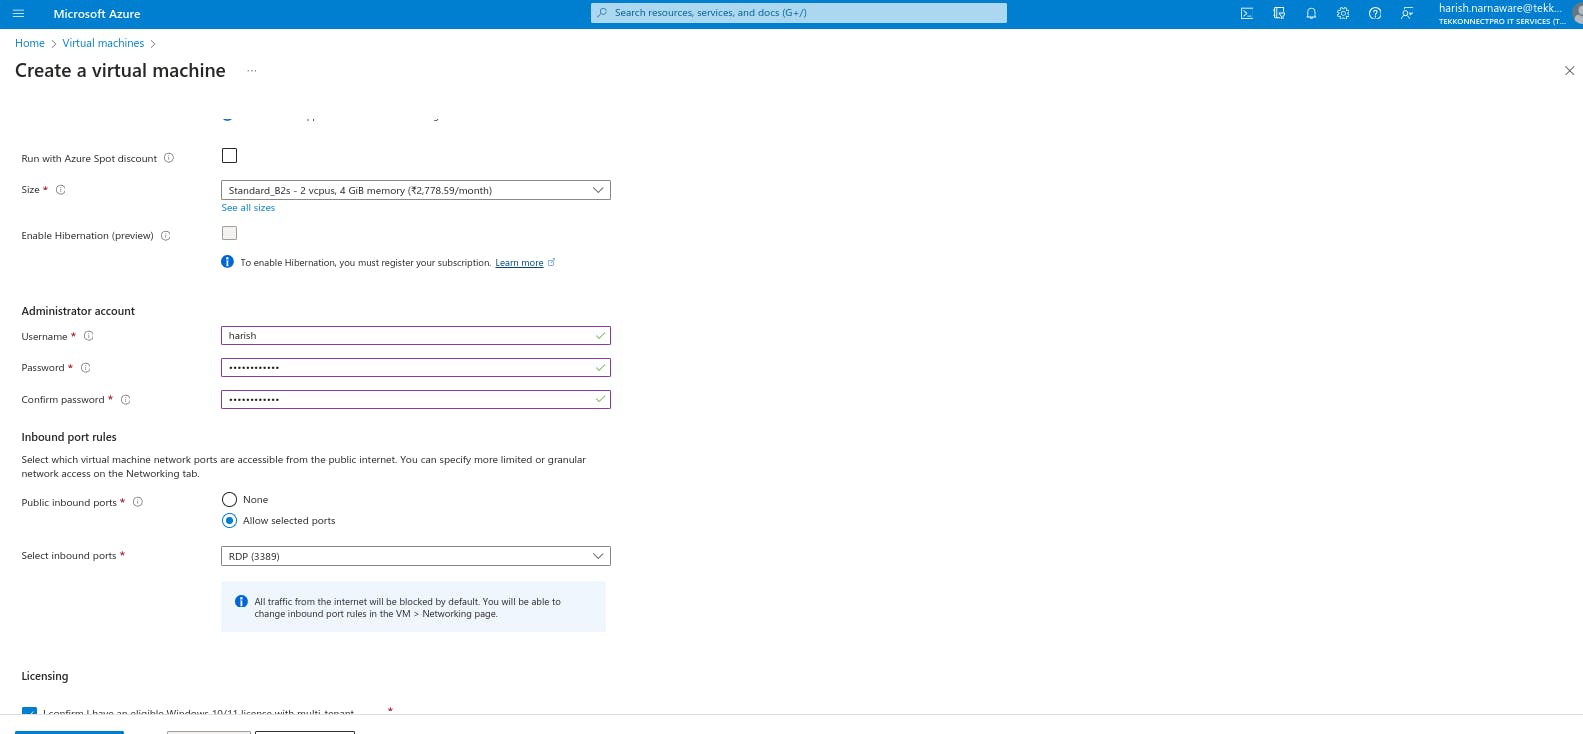
Give password and username for future purpose save it because it was going to be use in migrated machine.
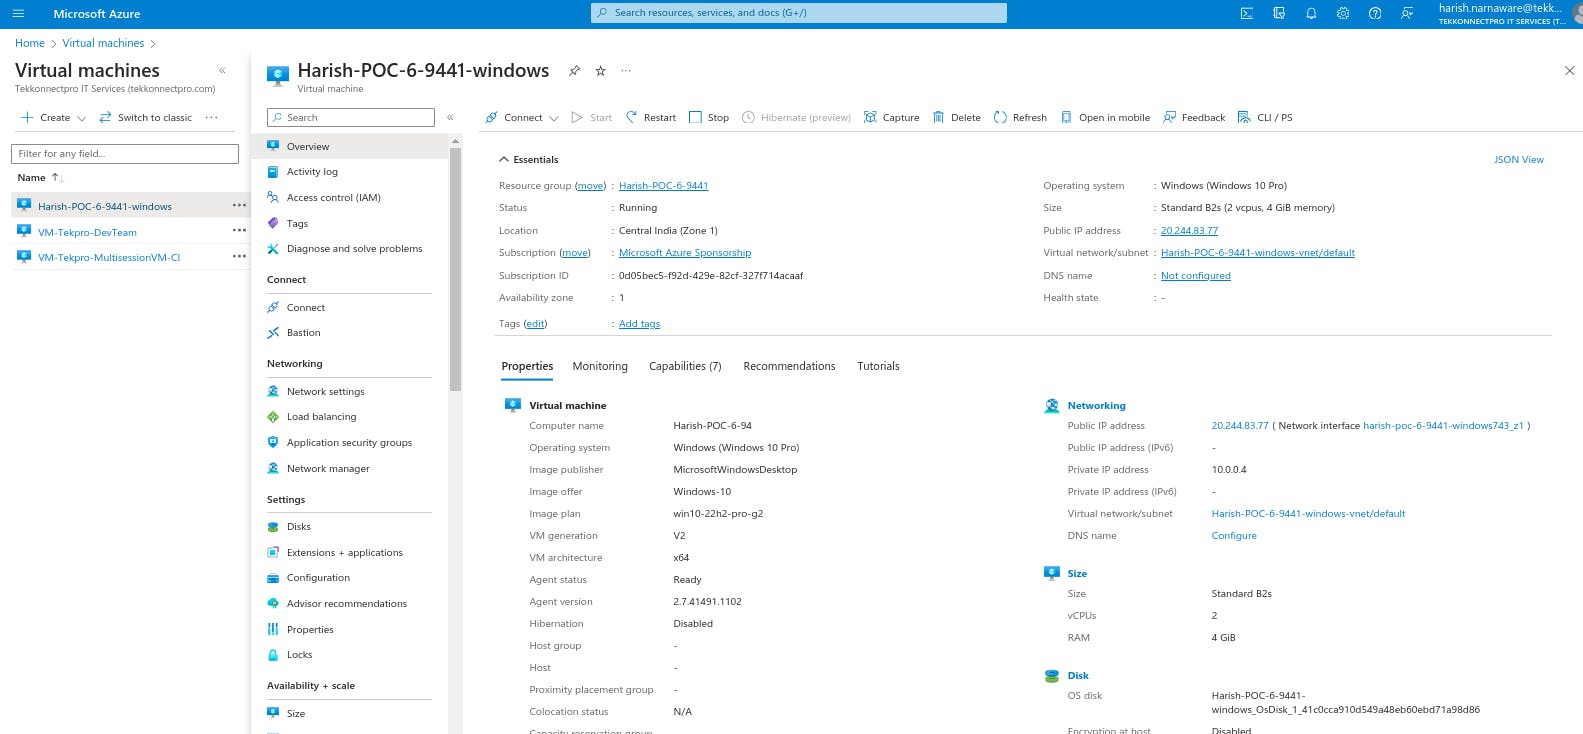
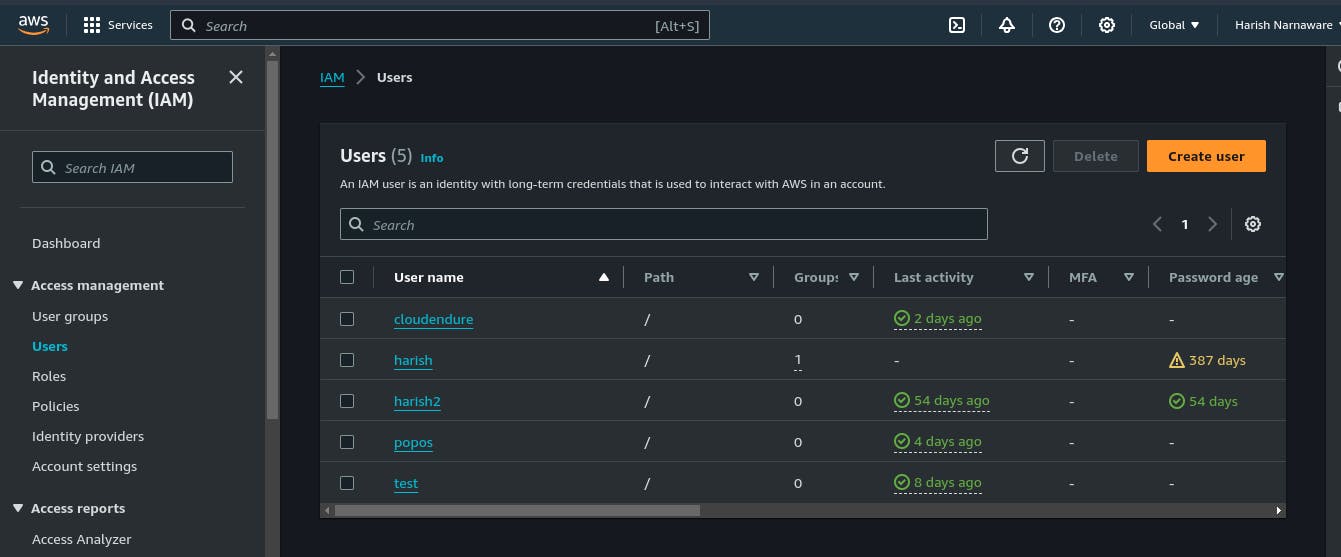
Step2: Open Identity access management Console.
Create new user
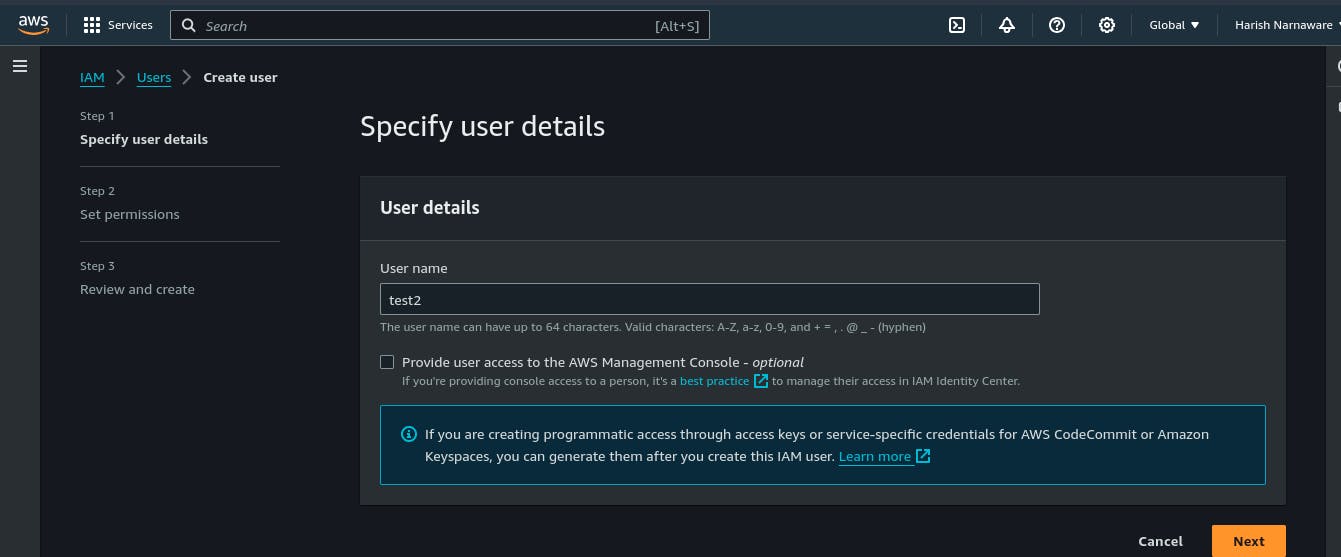
Give name of user
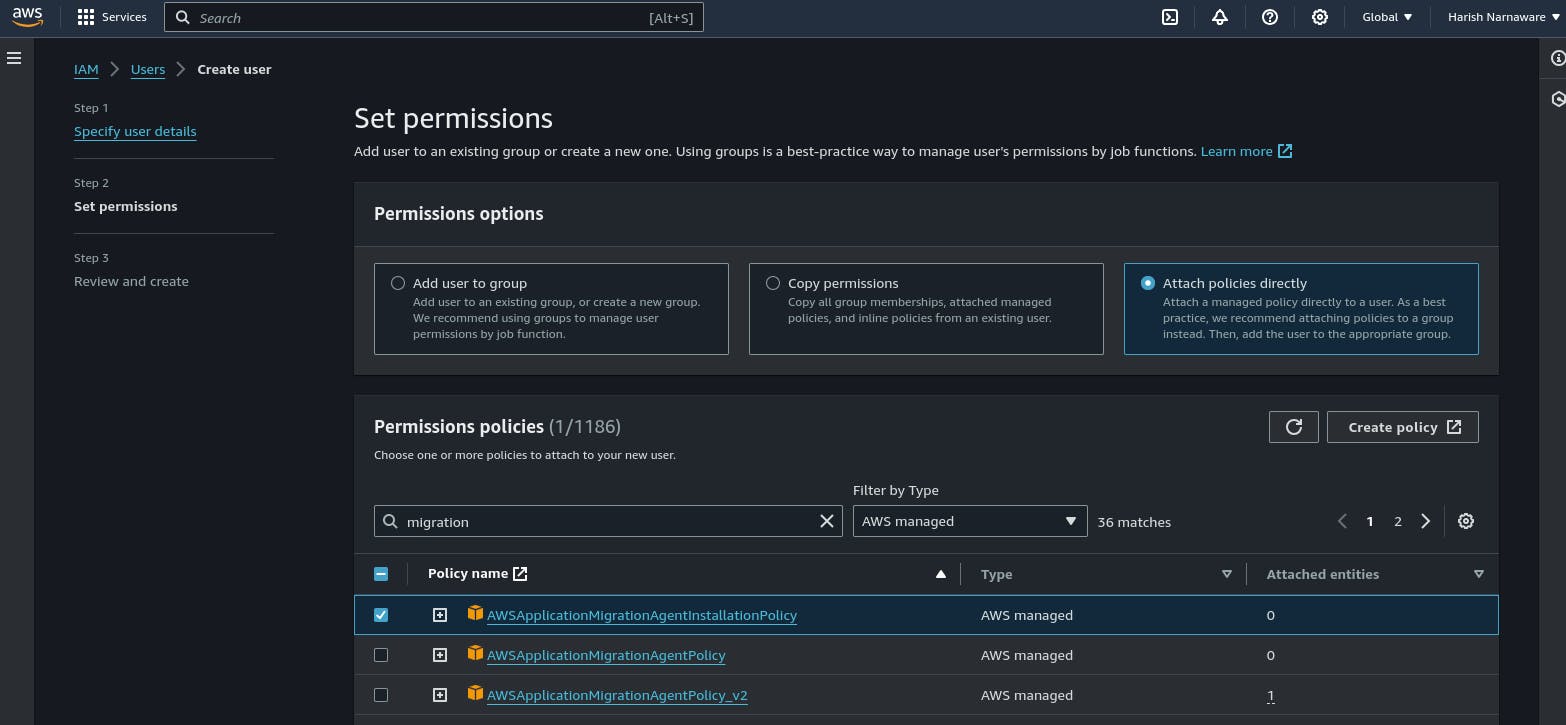
Attach policy directly
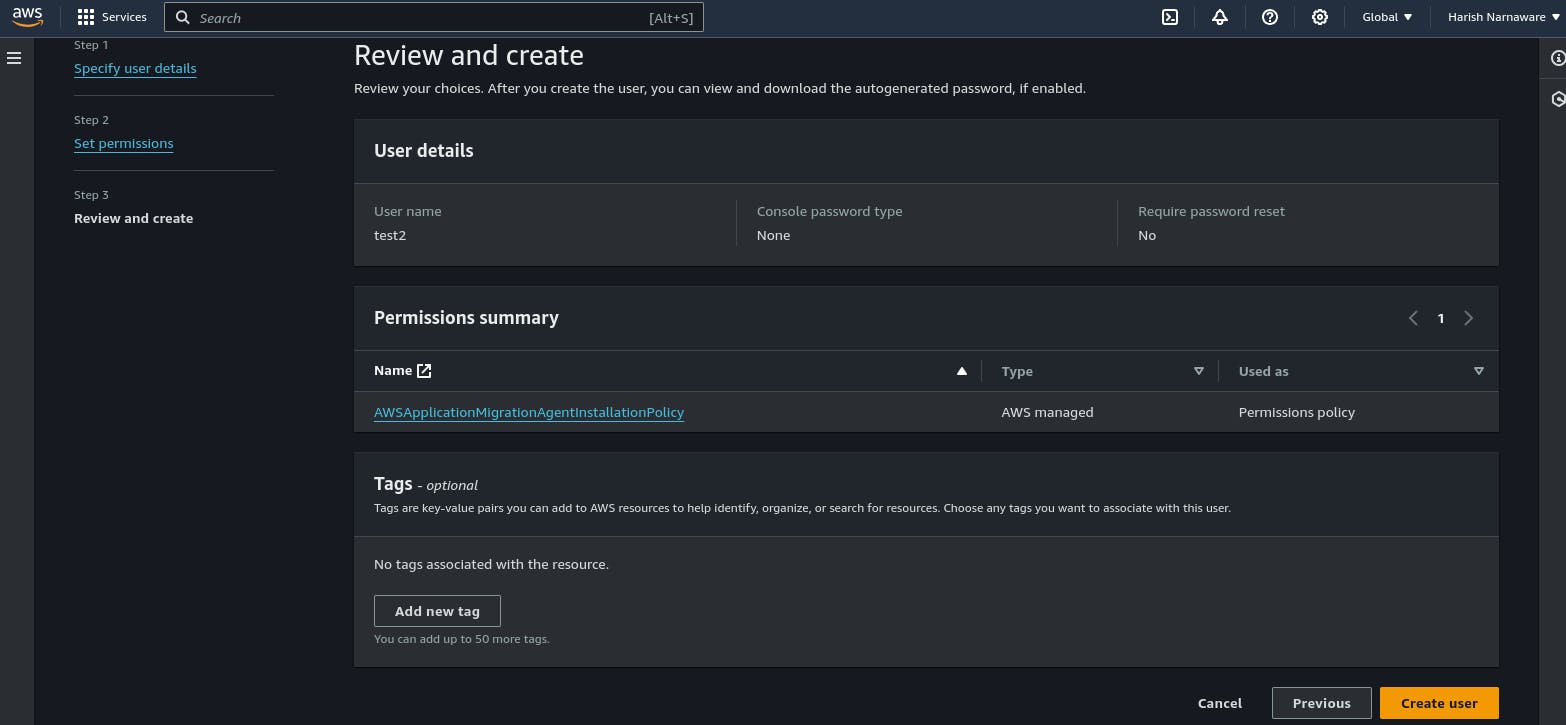
Click on create user
Click on test2 user which I have recently created
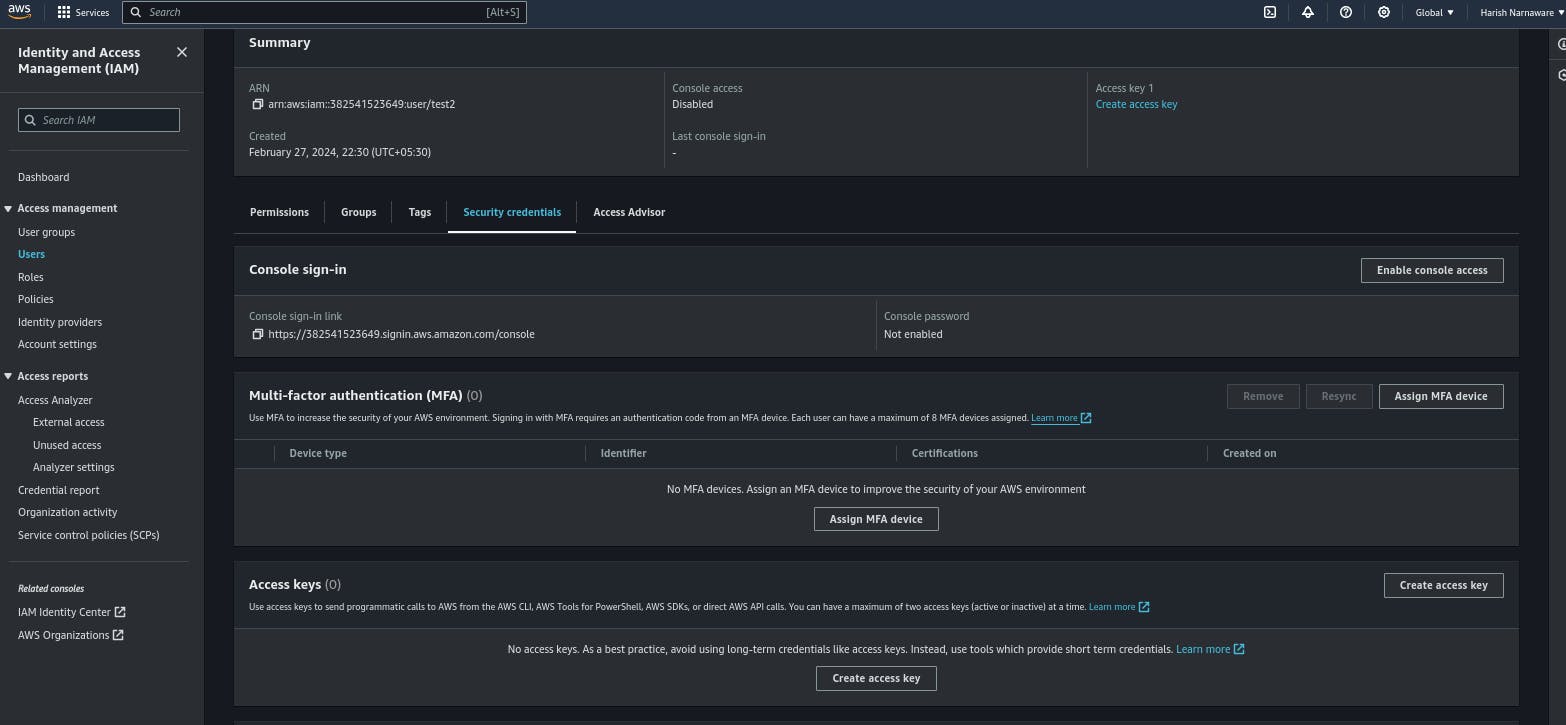
Generate access key and access id.
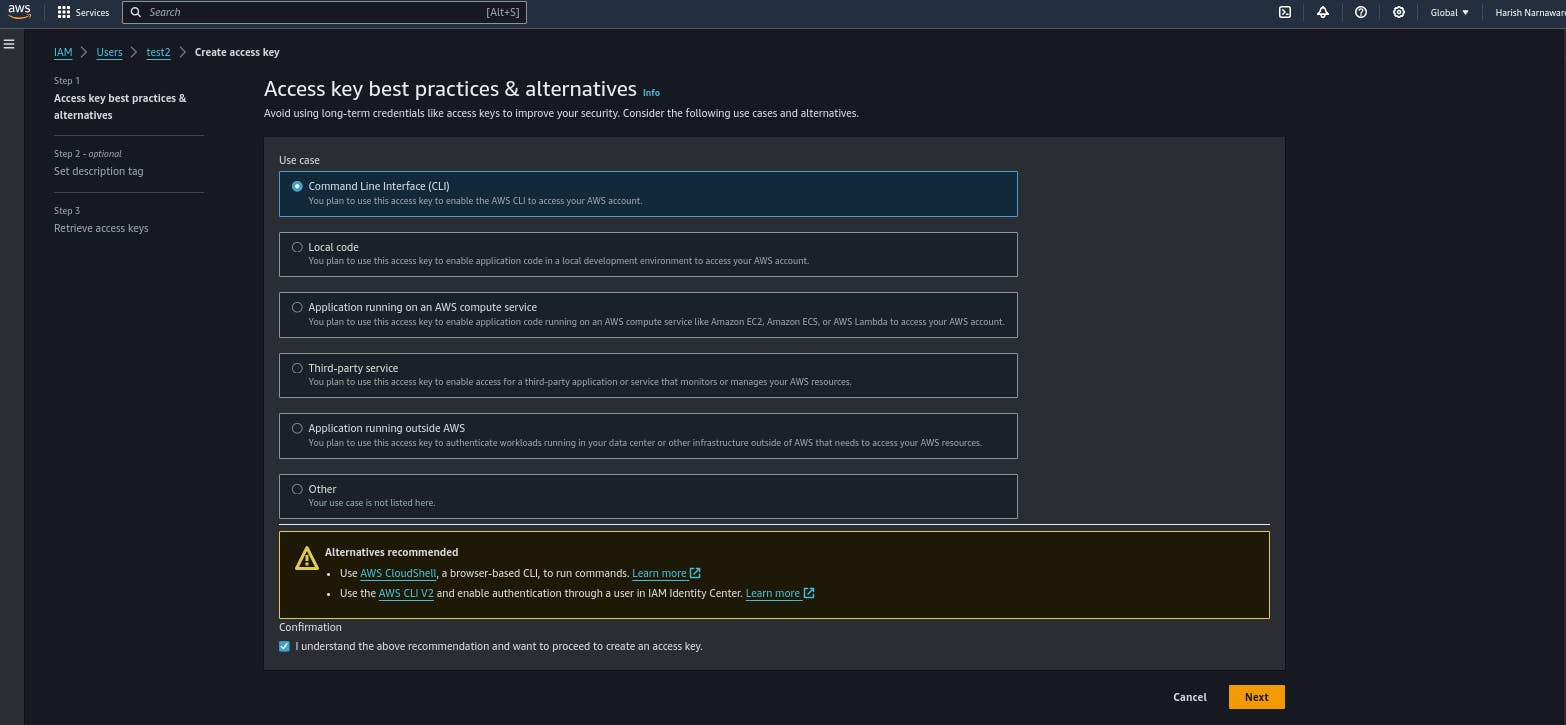
Click on create access key.
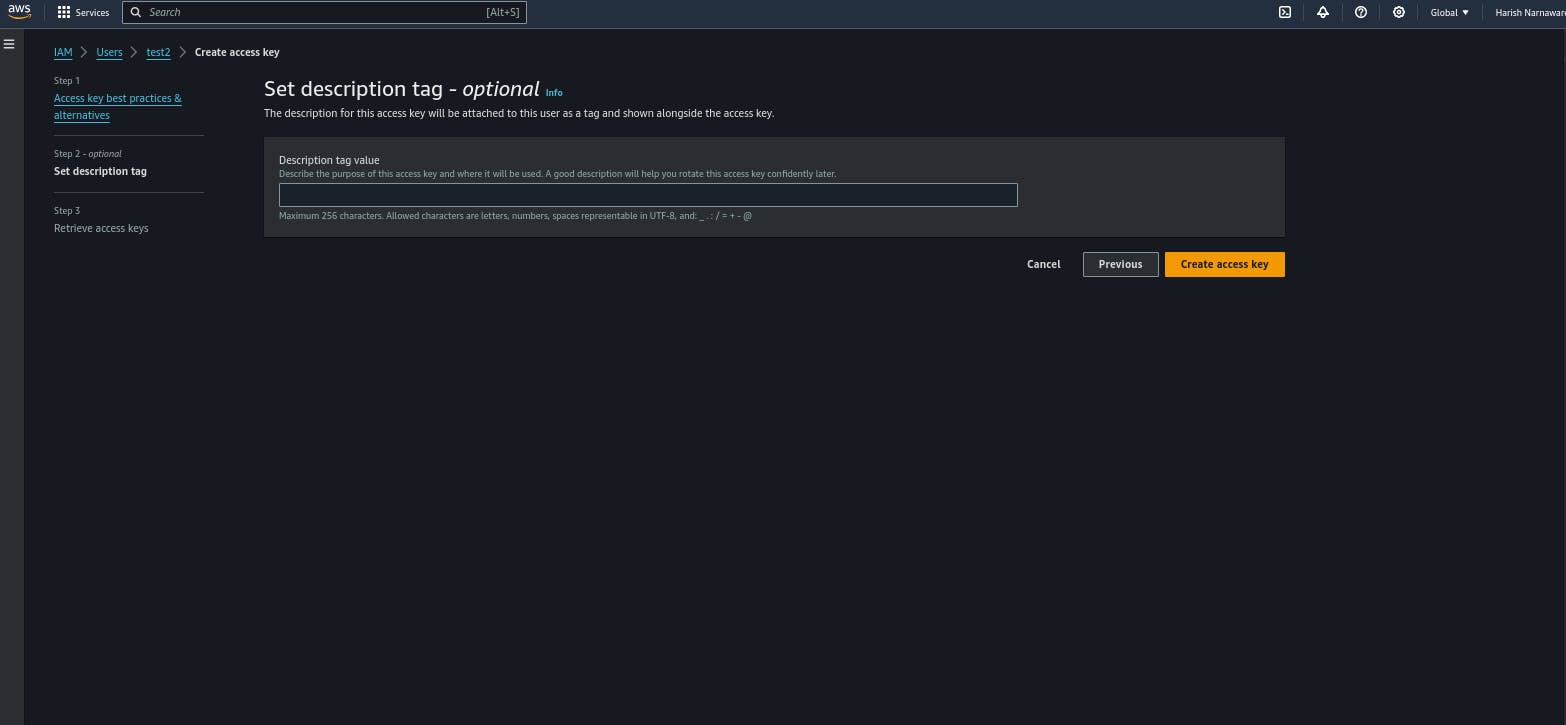
Select Command Line Interface and click okay.
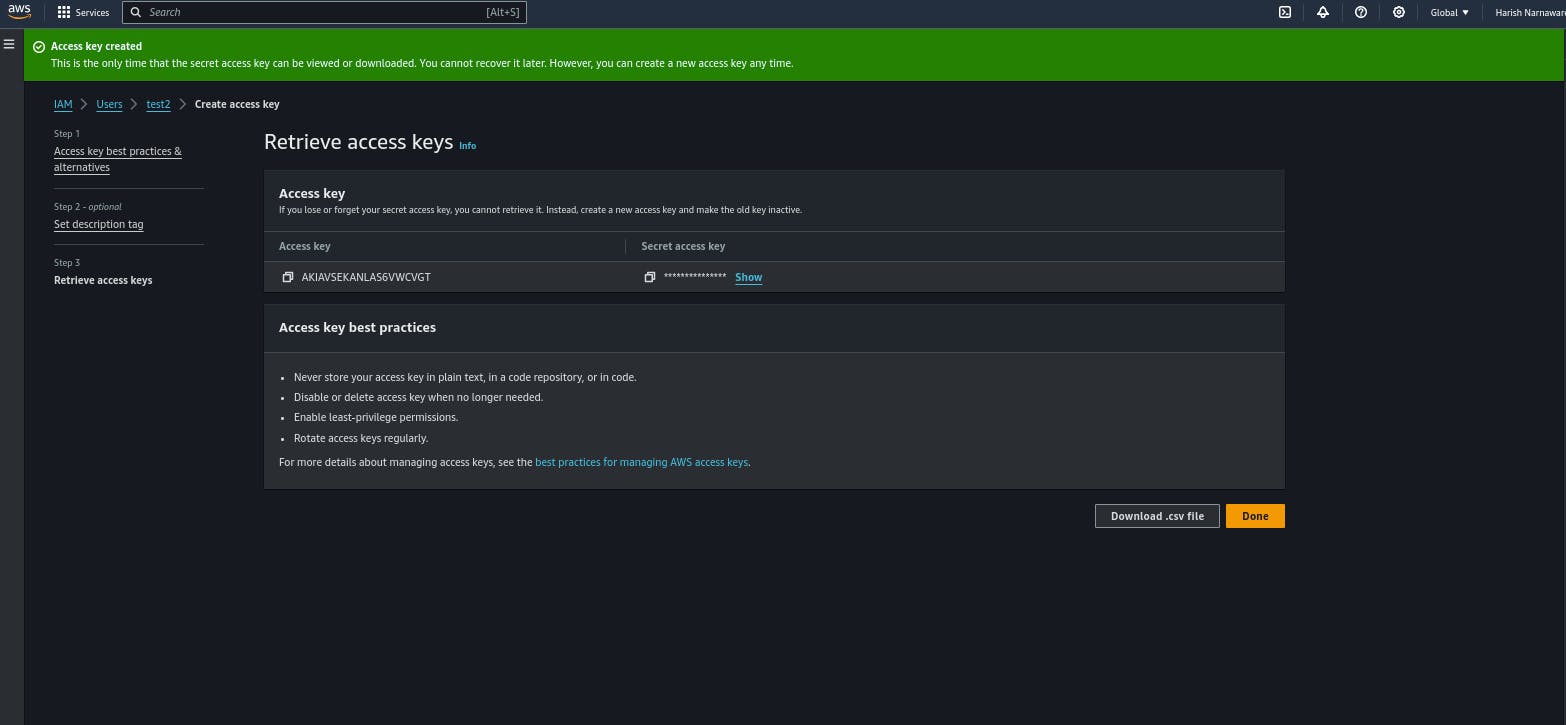
Copy Access ID and Access Key and save it.
Step3: Open Console of AWS Application Migration Service
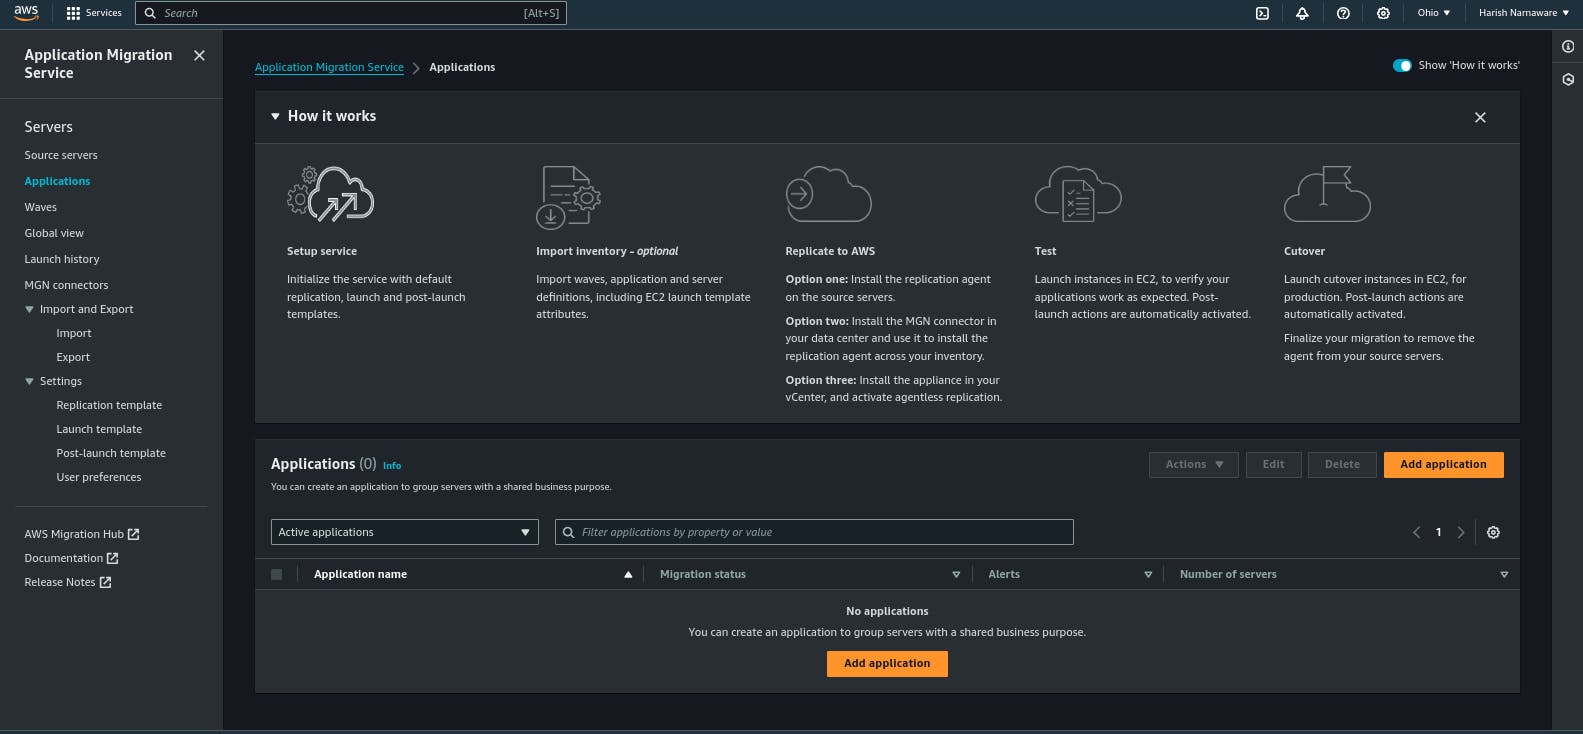
Click on resources and add server.
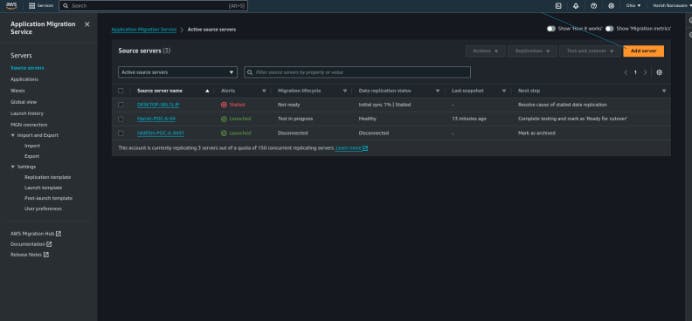
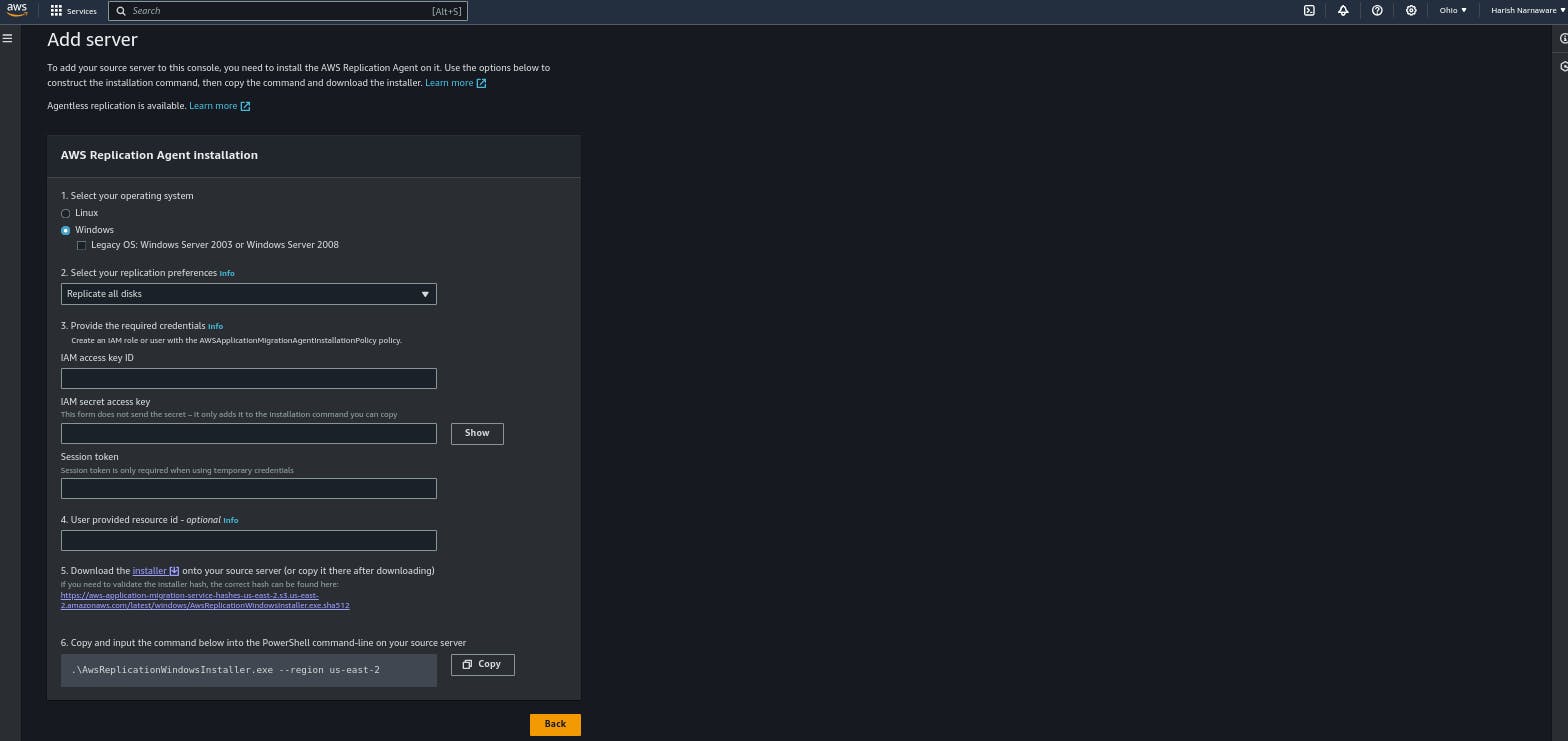
Put which type of operating system you want to migrate here I want to migrate windows, so I clicked on windows.
Select replication preferences – all disk
Give IAM user Access key and Access ID.
Copy Command.
Click on back.
Step4: In the next step download Agent installer for windows copy link and paste on windows server
Connect instance with RDP
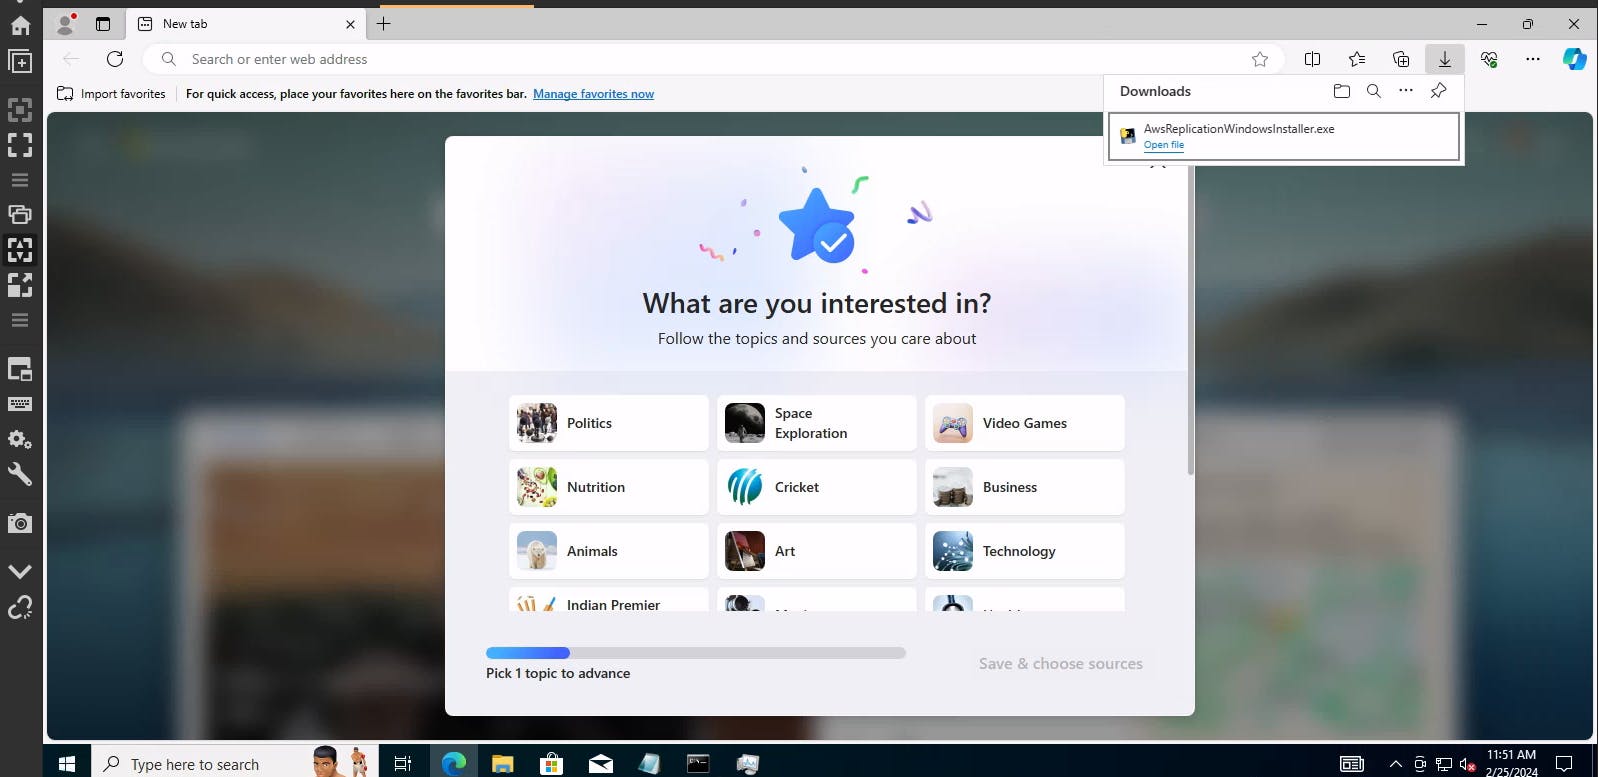
Here you can see I have download this agent on Windows Azure VM
Windows Agent Link - https://aws-application-migration-service-us-east-2.s3.us-east-2.amazonaws.com/latest/windows/AwsReplicationWindowsInstaller.exe
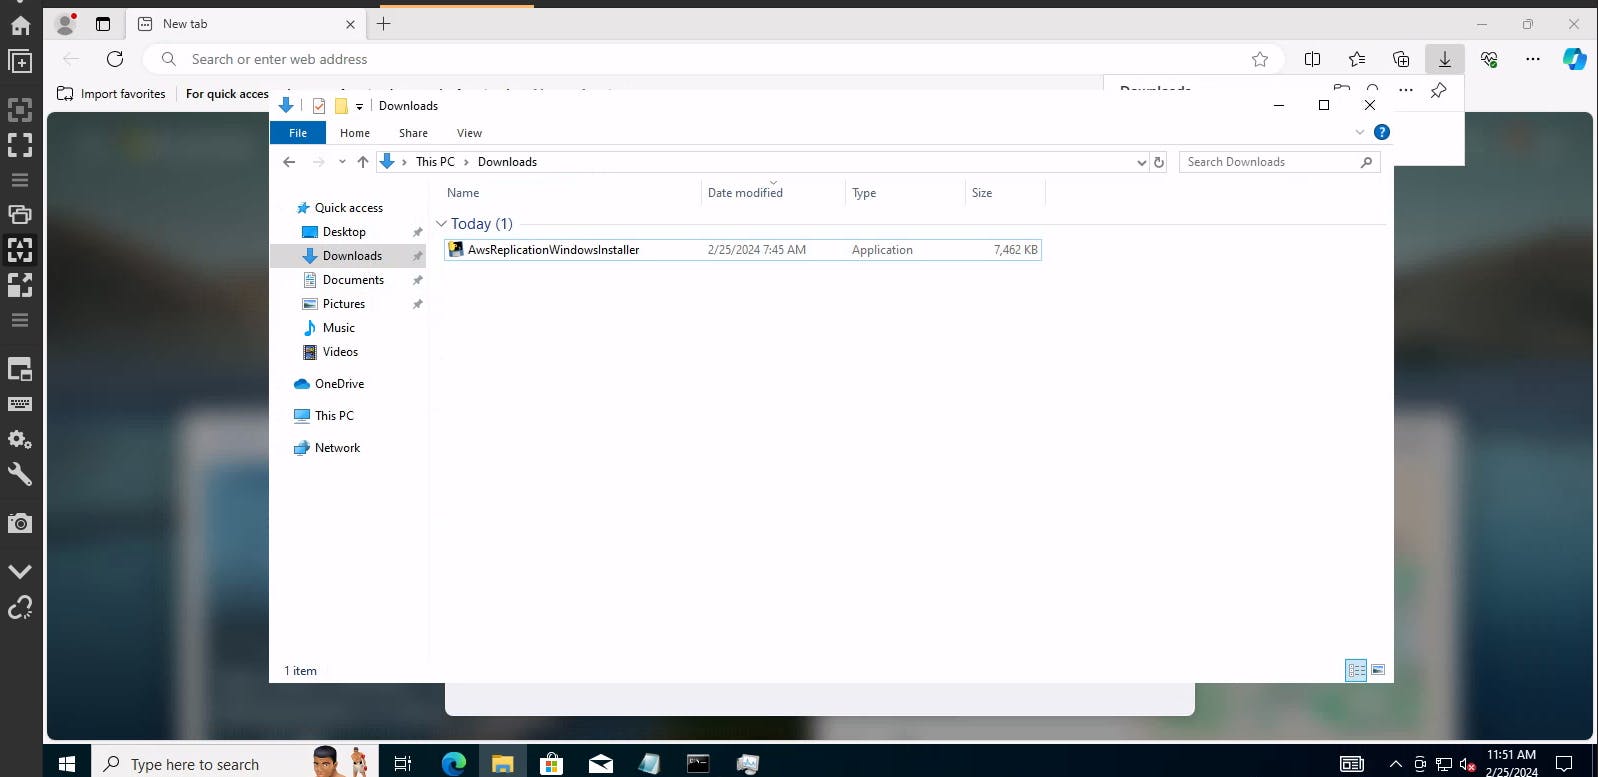
Step5: Putcommand where is the directory which container agent and run command in Administrator mode.
.\AwsReplicationWindowsInstaller.exe --region us-east-2 --aws-access-key-id AKIAVSEKANLAS6VWCKDU--aws-secret-access-key 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--no-prompt
The command something look like this put it on the terminal.

Press enter in some interval of time because cmd sometime got freezes.
Check AWS application Migration Console in a few minutes you will see your server is showing there.

Here we can see status that how much data will be replicated.
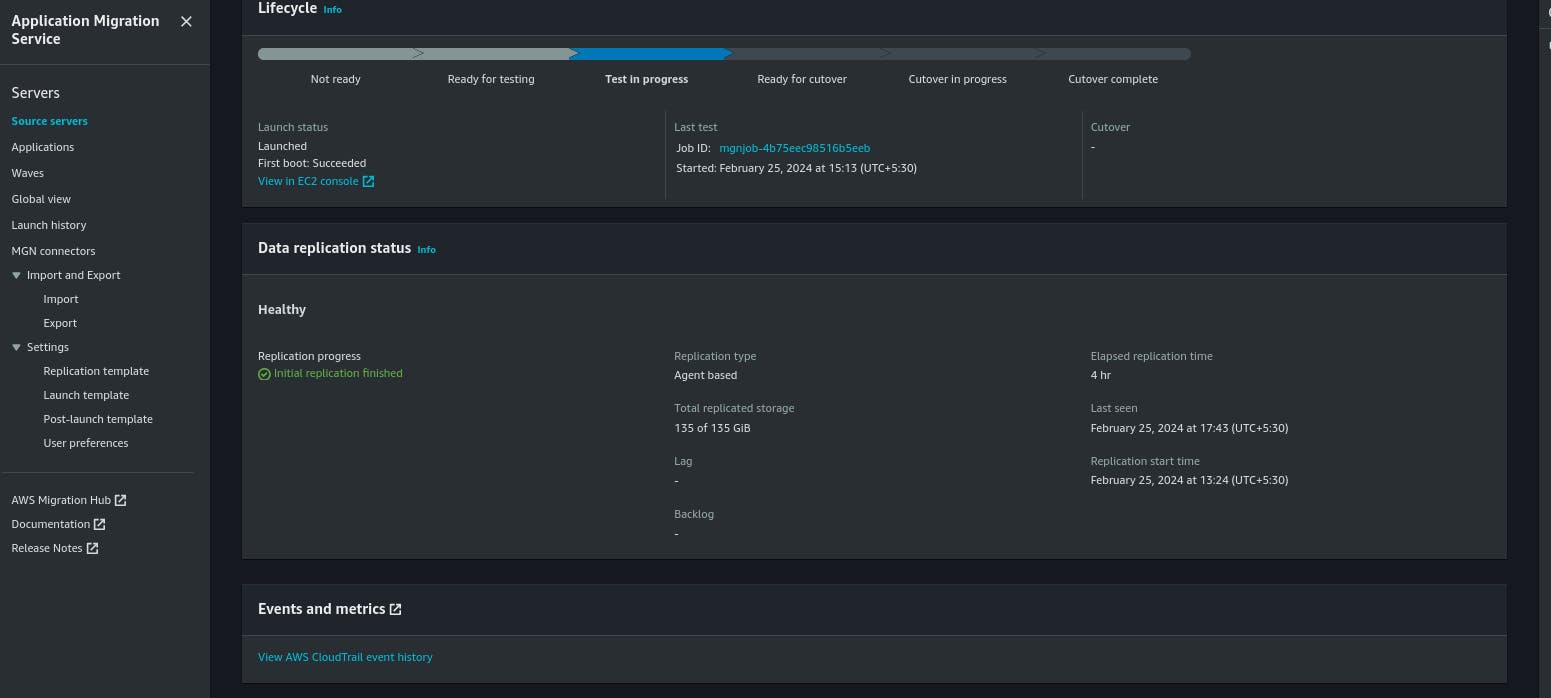
Step6: Click on launch settings.
Edit General Launch Settings.
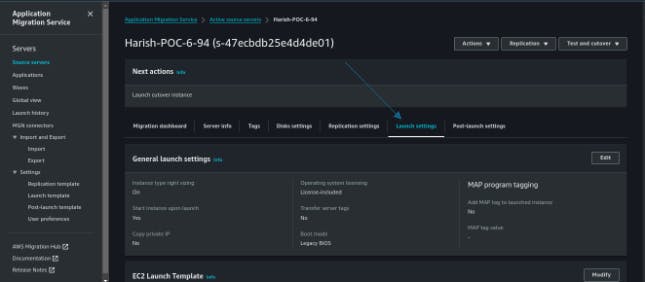
Here change BYOL to license-included.
If you have your own license then you can attach it.
Save settings.
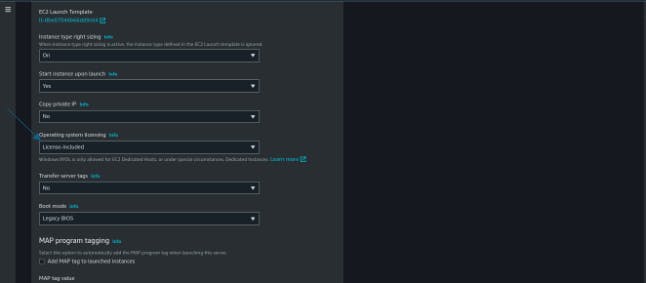
The replication instance will create automatically it contains data of server

After Getting 100% copied we can go for next step
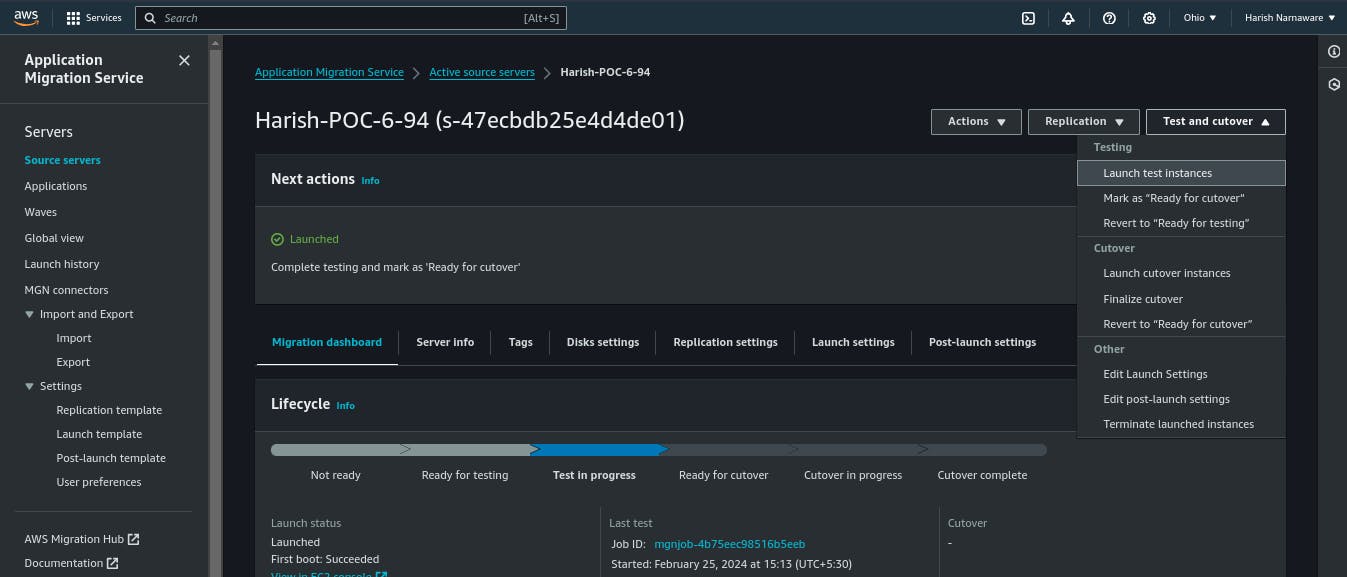
Step7: Click on Launch Test Instance.
It will create Conversion Instance for copying from replication server to new server.
new instance will be created after the finish of work conversion instance.
The conversion instance will terminate automatically after finishing work.
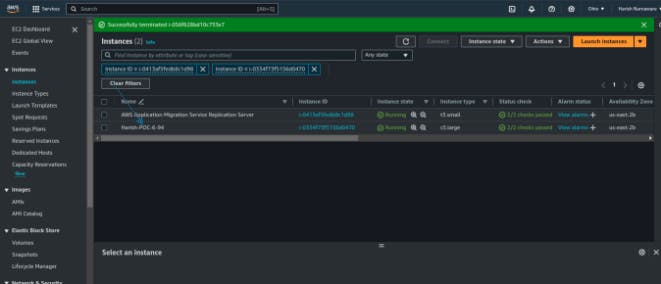
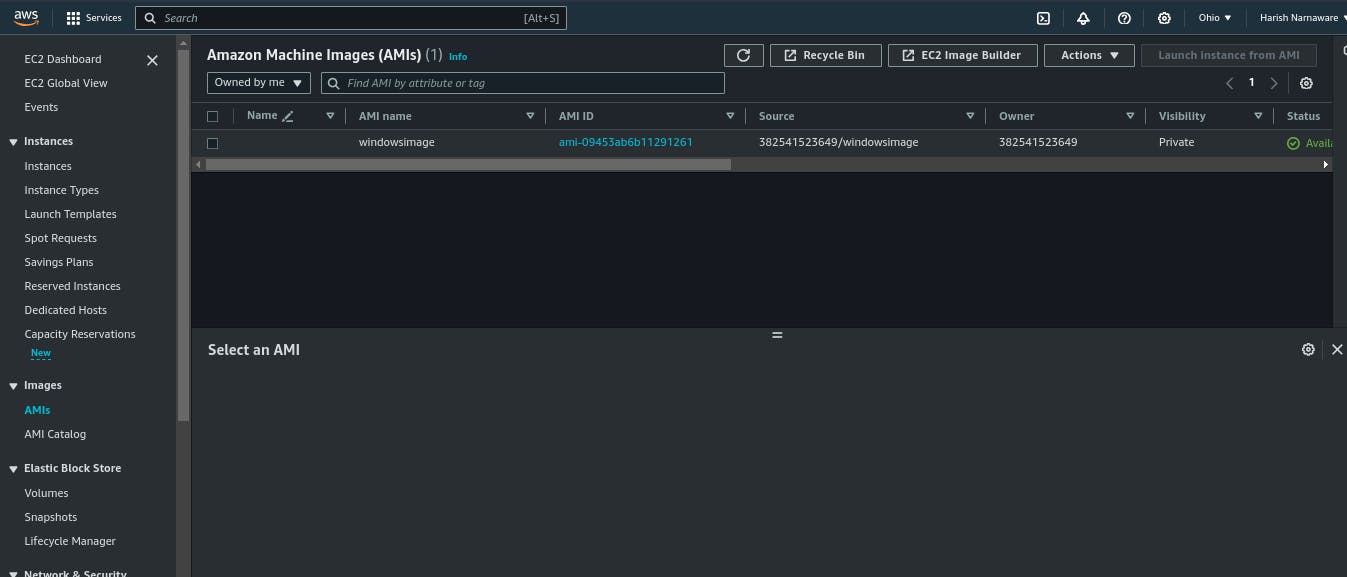
Step8: Stop server which is running. Create AMI of stopped Instance. Here what AMIlook after creating
Step9: Now Launch Instance of AMI
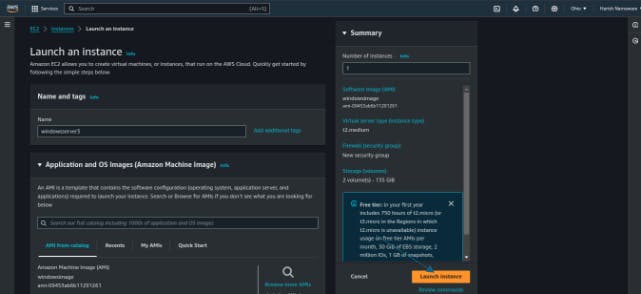
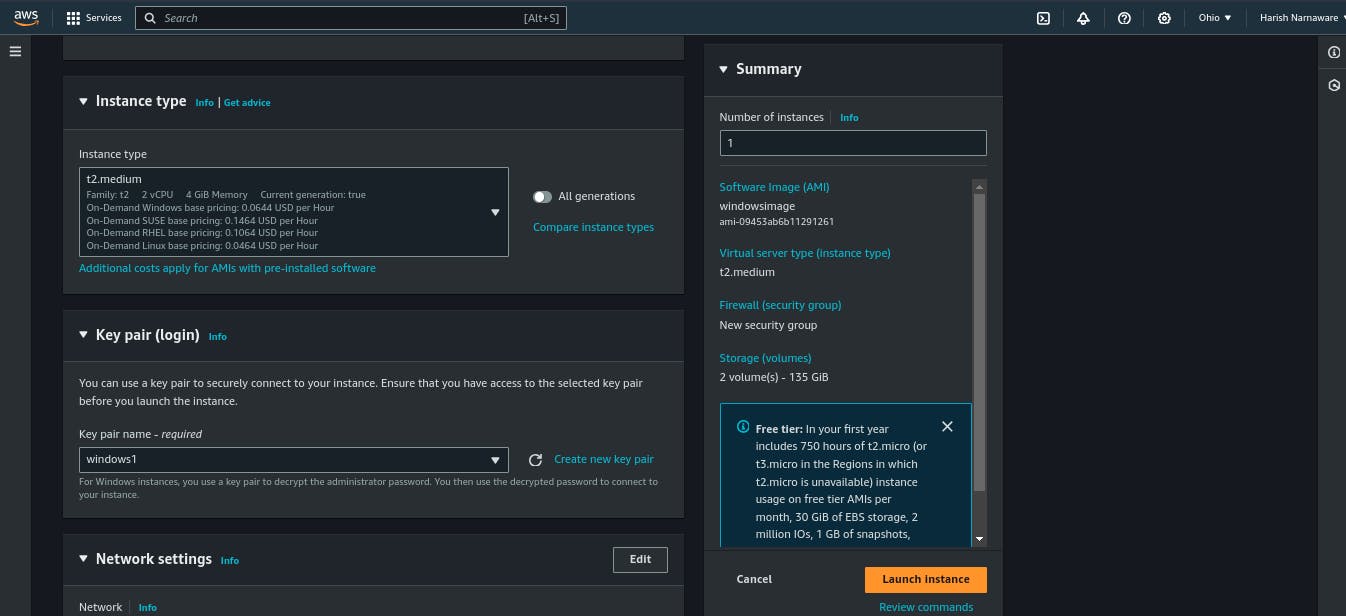
Click on Launch Instance
Here is our Running Instances
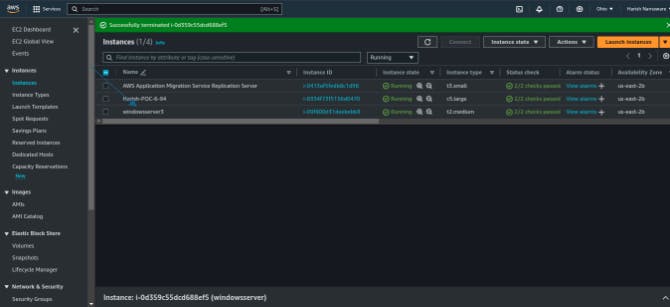
Step10: Copy Public IP try to connect with old username and password
Result:
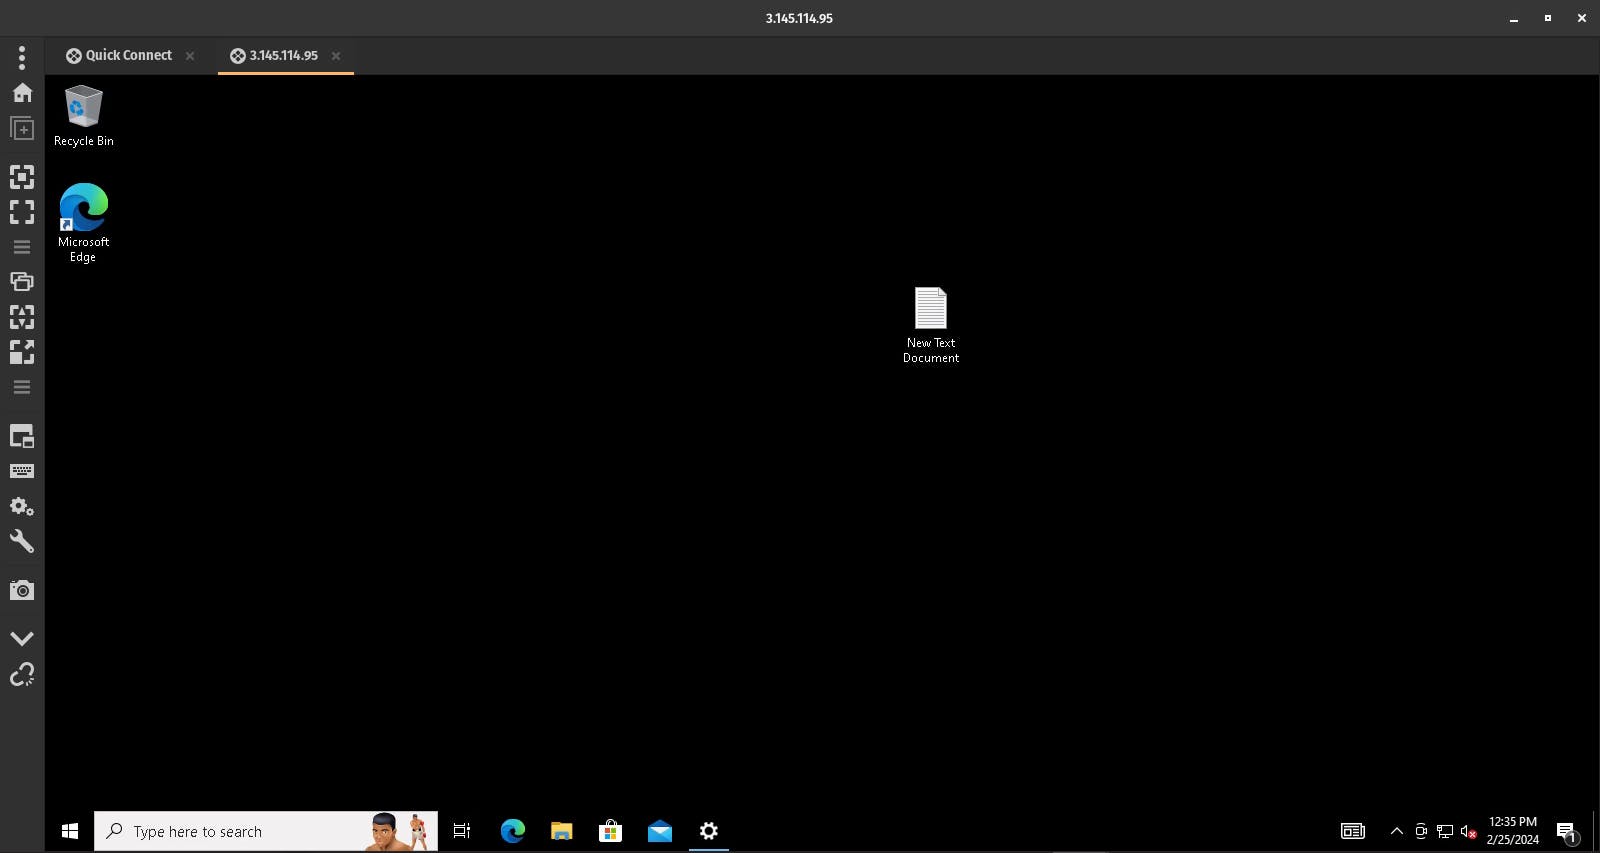
Here is the windows server which is in AWS
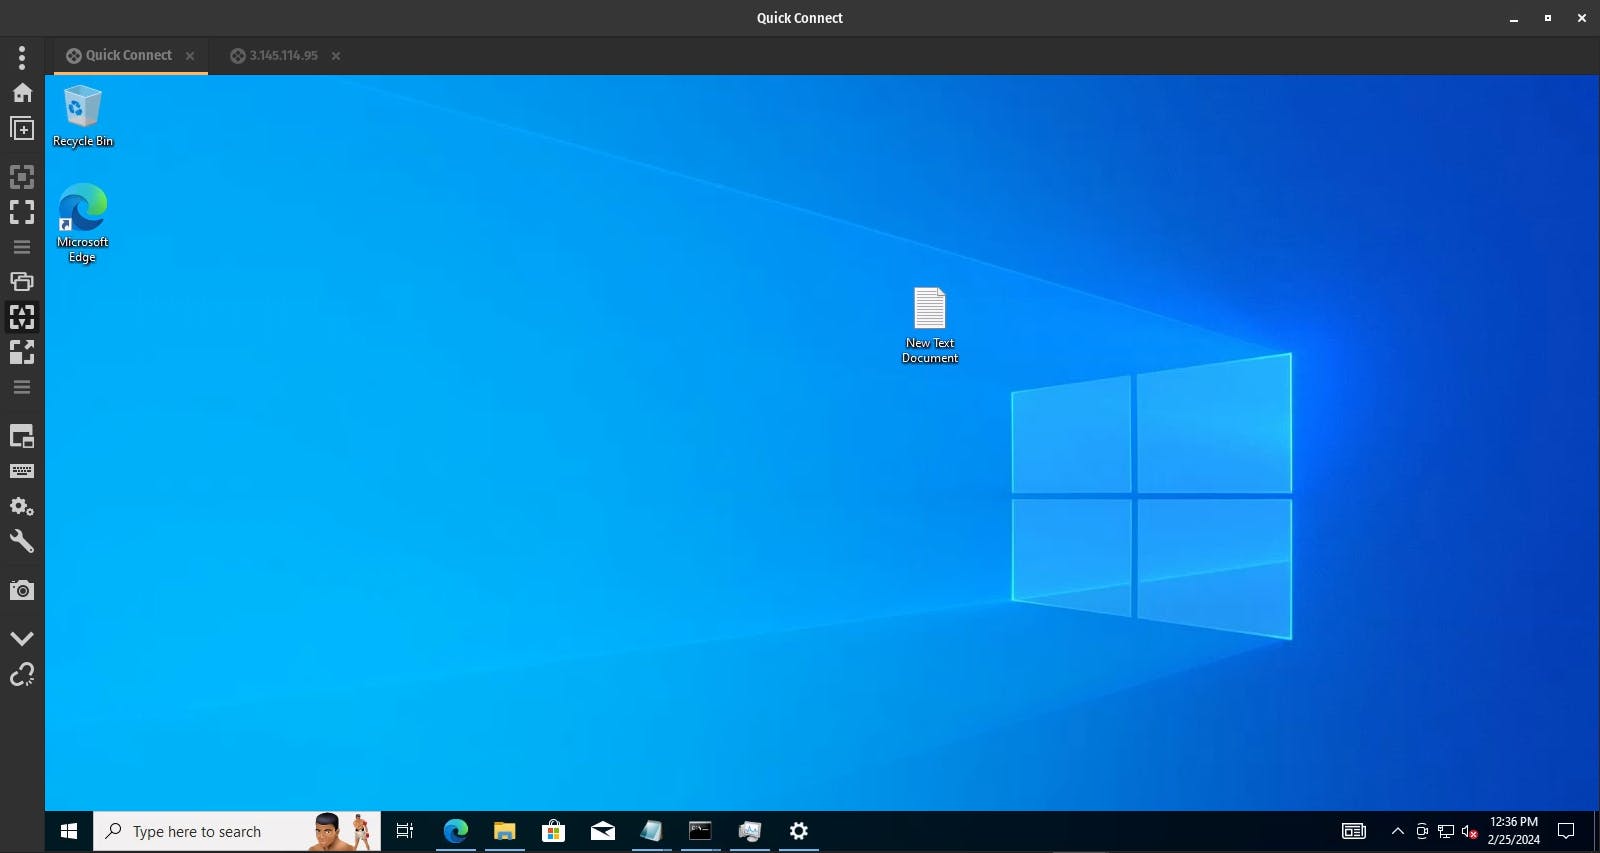
Here is the windows Server which is in Azure. Both have same data